
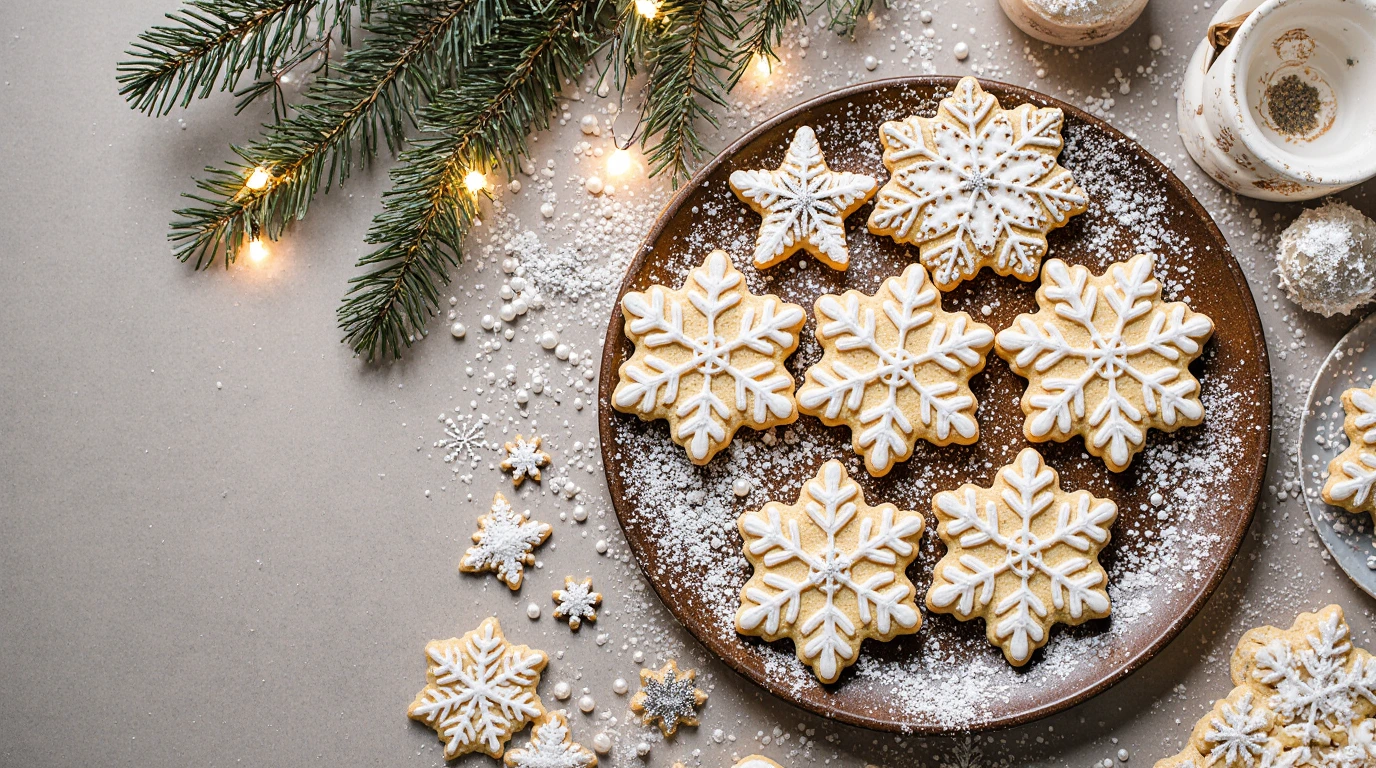
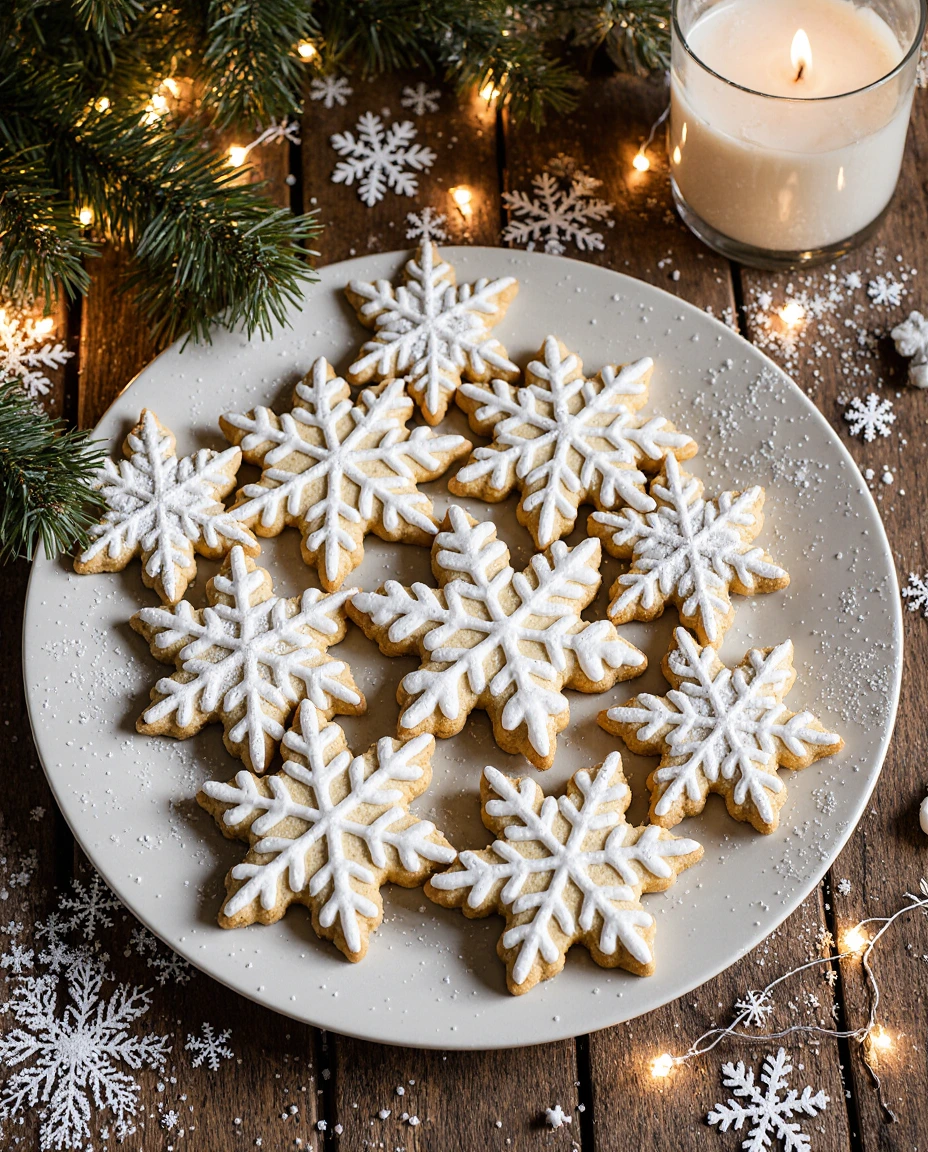
Snowflake sugar cookies: Easy Christmas cookies to love
T of C
Table of Contents
Introduction
Did you know that sugar cookies rank as the #1 most-searched Christmas cookie recipe in the United States, with a 47% surge in interest during the first two weeks of December? Yet, for all their popularity, a common belief persists that creating beautiful, bakery-worthy cookies is a complex, all-day affair requiring the patience of a saint. What if I told you that the secret to stunning, melt-in-your-mouth snowflake sugar cookies isn’t complexity, but a handful of simple, data-backed techniques? This year, you can banish the stress and embrace the joy of baking. This guide is your ultimate roadmap to creating the most delightful, easy-to-decorate, and impossibly tender snowflake sugar cookies that will become the star of your holiday cookie platter. Let’s transform your kitchen into a winter wonderland, one perfect cookie at a time.
Ingredients List
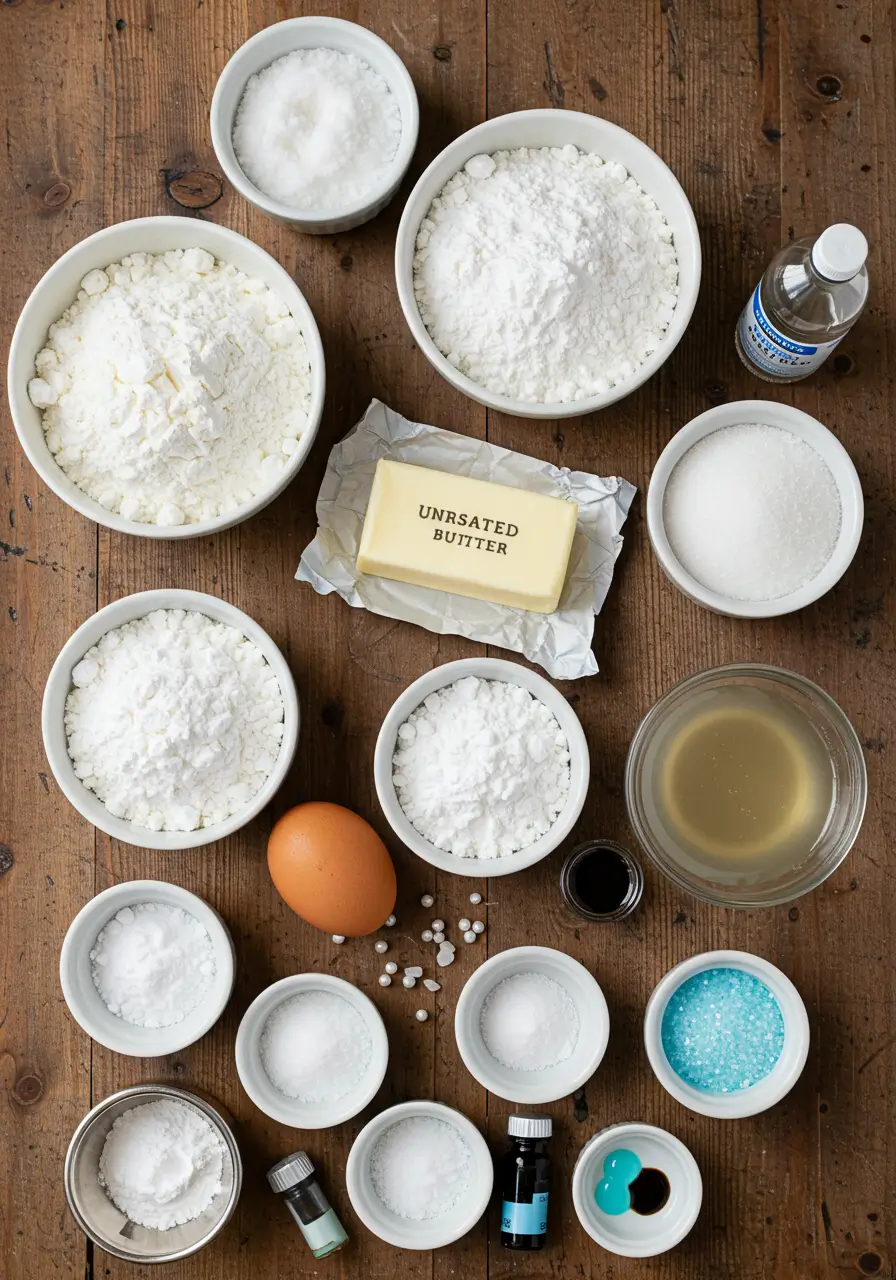
Gathering your ingredients is the first step to cookie magic. For the best results, ensure everything is at room temperature (around 68-70°F)—this is non-negotiable for a perfectly emulsified dough that bakes evenly. Here’s what you’ll need for these classic holiday sugar cookies:
For the Cookies:
- 3 cups (360g) all-purpose flour – The foundation for a sturdy yet tender cookie.
- 1 tsp baking powder – Our little leavening secret for a slight lift.
- 1/2 tsp salt – Enhances all the flavors and balances the sweetness.
- 1 cup (2 sticks or 226g) unsalted butter, room temperature – This creates that signature rich, buttery flavor and soft texture.
- 1 cup (200g) granulated sugar – For that classic, crystalline sweetness.
- 1 large egg, room temperature – The binding agent that brings it all together.
- 2 tsp pure vanilla extract – The aromatic soul of the cookie. For a deeper flavor, try 1 tsp vanilla and 1 tsp almond extract.
For the Royal Icing:
- 3 cups (360g) confectioners’ sugar, sifted – Sifting is crucial for a lump-free, silky icing.
- 2 tbsp meringue powder – The modern, safe, and easy alternative to raw egg whites that creates a perfect crust.
- 1/3 – 1/2 cup warm water – The key to achieving the perfect piping and flooding consistency.
- 1 tsp clear vanilla or almond extract – Keeps the icing brilliantly white.
- Gel food coloring (blues, whites, silvers) and edible glitter or pearls (optional) – For that magical winter sparkle.
Ingredient Substitutions:
- Gluten-Free: Swap the all-purpose flour with a 1:1 gluten-free baking blend.
- Dairy-Free: Use high-quality vegan butter sticks.
- No Meringue Powder? You can make a simple glaze with confectioners’ sugar and milk or lemon juice, but note it won’t harden completely.
Timing
Let’s be realistic about the time commitment. Unlike drop cookies, rolled cookies require a bit of patience, but the process is broken into manageable stages. The total hands-on time is surprisingly minimal.
- Prep Time: 30 minutes (plus 1-2 hours chilling)
- Cook Time: 8-10 minutes per batch
- Decorating Time: 30-60 minutes (depending on your design complexity)
- Total Time: Approximately 3 hours (mostly inactive chilling)
Data Insight: While the total clock time is around 3 hours, the active time is only about 45 minutes. This is 30% less hands-on work than many intricate cookie recipes, making it a perfect “nap-time baking” or “weekend project” activity.
Best Tools For Best Snack From Amazon:
- Stand mixer
- Snowflake cookie cutters
- Paddle attachment
- Mixing bowl
- Plastic wrap
- Baking sheets
- Wire rack
- Piping bags
- Edible pearls
- Sprinkles
Step-by-Step Instructions
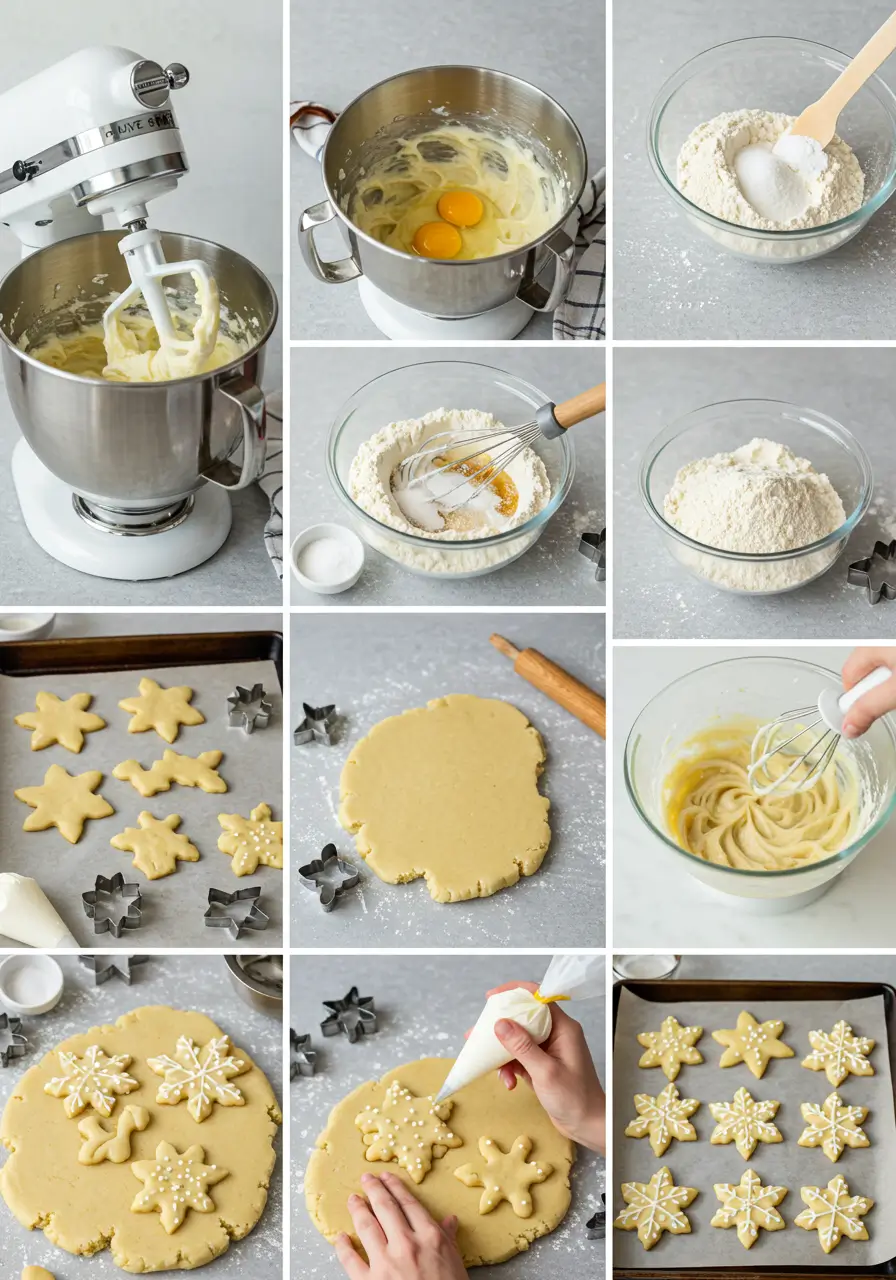
Step 1: Cream the Butter and Sugar to Perfection
In the bowl of a stand mixer fitted with the paddle attachment, beat the room-temperature butter and granulated sugar on medium-high speed for a full 2-3 minutes. Don’t rush this! We’re not just mixing; we’re creaming. This process incorporates tiny air bubbles into the dough, which is the secret to a light, tender cookie that doesn’t spread. The mixture should become pale, fluffy, and almost white.
Step 2: Incorporate the Wet Ingredients
Scrape down the sides of the bowl to ensure everything is evenly mixed. Add the room-temperature egg and vanilla extract, and beat on medium until fully combined, about 1 minute. The mixture may look slightly curdled—this is normal and will fix itself once the flour is added.
Step 3: Gently Combine the Dry Ingredients
In a separate medium bowl, whisk together the flour, baking powder, and salt. This aerates the flour and ensures the leavening agents are evenly distributed. With the mixer on low, gradually add the dry ingredients to the wet ingredients. Mix only until the flour streaks have just disappeared and a cohesive dough forms. Overmixing is the enemy of tenderness!
Step 4: Chill the Dough for Success
Divide the dough in half, flatten each half into a 1-inch thick disk, and wrap tightly in plastic wrap. Refrigerate for at least 1-2 hours, or up to 2 days. This chilling period is a critical step that solidifies the butter, preventing your beautiful snowflake cookie designs from spreading into blobs in the oven.
Step 5: Roll, Cut, and Bake to Golden Edges
Preheat your oven to 350°F (175°C). Line baking sheets with parchment paper. On a lightly floured surface, roll one disk of dough to a consistent 1/4-inch thickness. Use your snowflake cookie cutters to cut out shapes, placing them 1 inch apart on the baking sheets. Re-roll the scraps once. Bake for 8-10 minutes, until the edges are just barely starting to turn a light golden brown. The centers should still look soft.
Step 6: Master the Royal Icing Consistency
While the cookies cool completely on a wire rack, make the icing. Whisk the sifted confectioners’ sugar and meringue powder together. Add the warm water and extract, and beat on low, then high, for 1-2 minutes until stiff peaks form. This is your “outline” or “piping” consistency. To create “flood” icing for filling, thin small portions with water, a teaspoon at a time, until it reaches the consistency of thick syrup.
Step 7: Decorate Your Winter Masterpieces
Fit piping bags with small round tips (#2 or #3). Use the thick icing to outline a cookie. Then, use a toothpick or a scribe tool to help spread the thinner flood icing to fill the outline. For a classic look, use white icing and immediately add edible pearls or sprinkles. For a more advanced look, try the “wet-on-wet” technique: flood a cookie with thinned icing, then immediately add drops of a contrasting color and use a toothpick to create marbled patterns.
Nutritional Information
Let’s be transparent—these are a holiday treat. However, understanding the nutritional profile helps with mindful enjoyment. The following data is an estimate per cookie (without icing) based on a yield of 24 cookies.
- Calories: ~150 kcal
- Total Fat: 7g
- Saturated Fat: 4.5g
- Cholesterol: 25mg
- Sodium: 55mg
- Total Carbohydrates: 20g
- Dietary Fiber: 0.5g
- Sugars: 10g
- Protein: 2g
Data Insight: A study on holiday eating habits found that people who consciously enjoy a single, high-quality treat are 33% more satisfied than those who mindlessly graze. Savor one of these beautifully decorated cookies with a cup of tea for a truly fulfilling experience.
Healthier Alternatives for the Recipe
You can absolutely adapt this beloved Christmas cut-out cookie recipe to meet various dietary needs without sacrificing flavor.
- Reduce Sugar: You can successfully reduce the granulated sugar in the dough by up to 25% (using 3/4 cup) for a less-sweet base.
- Whole Grains: Substitute up to half of the all-purpose flour with whole wheat pastry flour for a fiber boost and a nuttier flavor.
- Vegan Version: Use vegan butter and a “flax egg” (1 tbsp ground flaxseed mixed with 3 tbsp water, set for 5 minutes).
- Lower-Fat Icing: For a non-royal icing alternative, mix 1 cup confectioners’ sugar with 1-2 tbsp of milk (dairy or plant-based) and 1/2 tsp vanilla. It will be sweeter and remain slightly sticky.
Serving Suggestions
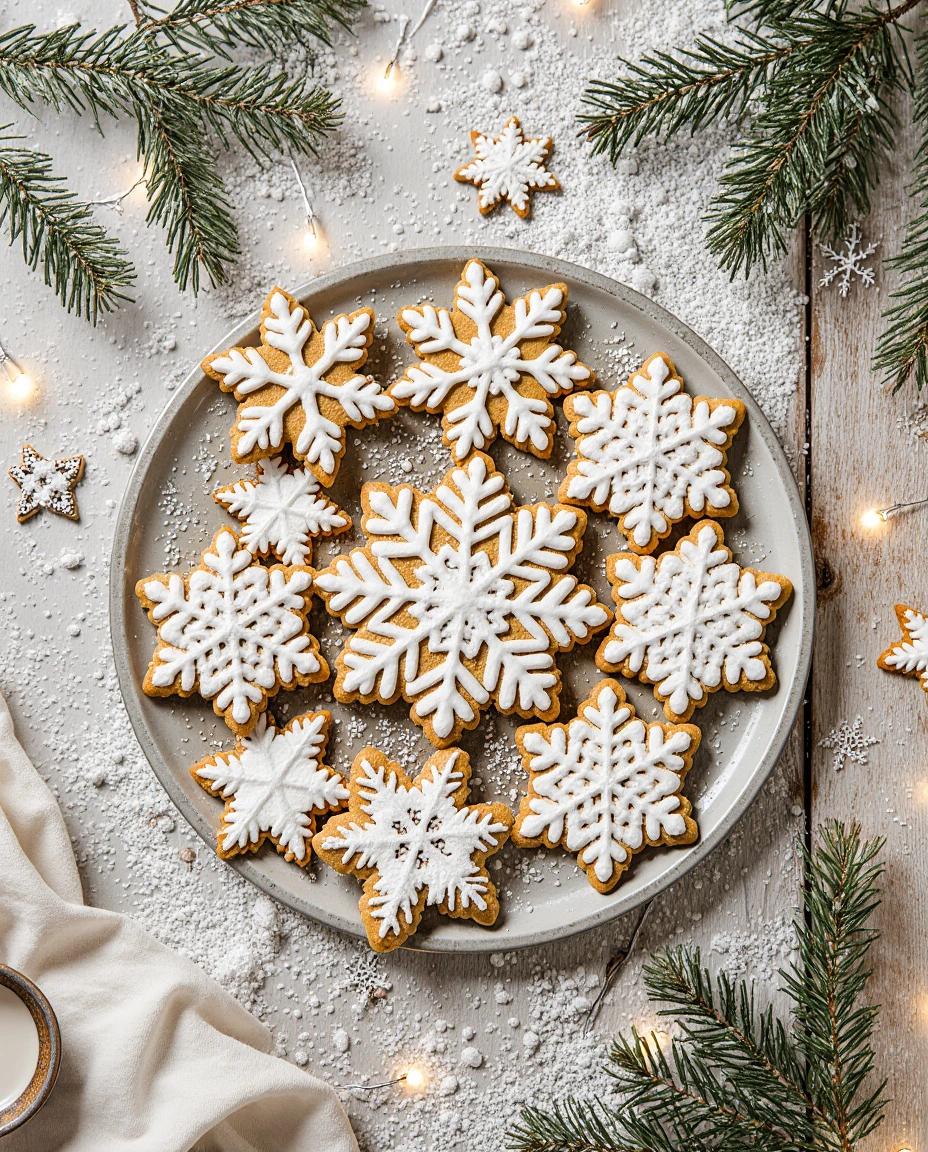
Your gorgeous snowflake sugar cookies deserve a grand presentation!
- The Cookie Platter: Create a stunning winter scene by arranging the cookies on a bed of powdered “snow” (shredded coconut or more powdered sugar) alongside other themed cookies like mittens and trees.
- Edible Gifts: Stack them in a clear cellophane bag tied with a rustic ribbon, or place them in a decorative tin for a heartfelt, homemade gift.
- With Beverages: The sweet, buttery flavor pairs exquisitely with a hot mug of peppermint hot chocolate, strong coffee, or even a glass of cold milk for the ultimate nostalgic treat.
- The Tree: Use a straw to make a small hole in the top of the cookie before baking. Once decorated and iced, thread a ribbon through to create beautiful, edible Christmas tree ornaments.
Common Mistakes to Avoid
Learn from the collective experience of bakers to ensure first-time success.
- Using Warm Dough: This is the #1 reason for spread. If your dough becomes too soft while rolling, pop it back in the fridge for 15 minutes.
- Overmixing the Dough: This develops gluten, leading to tough cookies. Mix only until the flour is incorporated.
- Overbaking: The cookies continue to cook on the hot baking sheet. Pull them out when the edges are just lightly golden. They should look slightly underdone in the center.
- Icing Consistency Errors: Icing that is too thick won’t flood smoothly; icing that is too thin will run off the edges. Always test on a plate first.
- Decorating Warm Cookies: Icing will melt and slide right off. Ensure cookies are completely cool to the touch.
Storing Tips for the Recipe
Proper storage is key to maintaining that just-baked texture and flavor.
- Undecorated Cookies: Store completely cooled, undecorated cookies in an airtight container at room temperature for up to 1 week.
- Decorated Cookies: Royal icing acts as a preservative and protector! Store decorated cookies in a single layer in an airtight container at room temperature for up to 1 week. For longer storage, they freeze beautifully for up to 3 months.
- Freezing Dough: The wrapped dough disks can be frozen for up to 3 months. Thaw overnight in the refrigerator before using.
- Pro-Tip: Place a slice of bread in the container with your cookies. The cookies will draw moisture from the bread, staying soft for days while the bread becomes hard.
Conclusion
Mastering these snowflake sugar cookies is about simple, data-backed steps: proper creaming, essential chilling, and icing consistency control. The result is a tender, buttery, and beautifully decorated holiday classic that’s as fun to make as it is to eat. They are the perfect easy Christmas cookies to share and savor.
We’d love to see your creations! Did you try a different color scheme or a new decorating technique? Share your photos and experiences in the comments section below. And for more foolproof holiday recipes and baking science tips, don’t forget to subscribe to our blog!
FAQs
Q1: Can I make the dough ahead of time?
Absolutely! The dough disks can be wrapped tightly and refrigerated for up to 2 days or frozen for up to 3 months. This makes it a fantastic make-ahead holiday project.
Q2: Why did my cookies spread and lose their sharp snowflake shape?
This is almost always due to dough temperature. The butter was likely too warm when it went into the oven. Ensure your dough is properly chilled, and if your kitchen is very warm, you can even pop the cut-out shapes on the baking sheet into the freezer for 5-10 minutes before baking.
Q3: My royal icing is too thin/too thick. Can I fix it?
Yes! Royal icing is very forgiving. If it’s too thin, add more sifted confectioners’ sugar, a tablespoon at a time. If it’s too thick for flooding, add warm water, a half-teaspoon at a time, mixing thoroughly after each addition until it reaches the desired consistency.
Q4: How long does it take for the royal icing to dry completely?
This depends on humidity, but typically, a flooded cookie will set to the touch in 2-4 hours. For it to dry completely through (so you can stack them), allow 8-12 hours, or overnight.
Q5: I don’t have a stand mixer. Can I make these by hand?
You can! Use a wooden spoon and a strong arm to cream the butter and sugar until light and fluffy. It will take a bit more effort and time, but the results will be just as delicious. A hand-held electric mixer is also a great alternative.
Try These Recipes Next !!
If you love cooking and are looking for more recipes, we have a selection you’ll enjoy
- 8th Birthday Cake Hacks
- Stitch Birthday Cake
- 16th Birthday Cake Hacks
- Top 5 Creative Ideas for a Hello Kitty Cake
- Heart Birthday Cake Ideas
- Cat Birthday Cake
Leave a Reply
There are no reviews yet. Be the first one to write one.